Saturday, February 24, 2018

New Tailstock Key

Somehow I've misplaced the original key for the tailstock quill.  Rather then wait for it to turn up or spend hours searching for it I made a new one.  It is similar to but quite different than the available tapered keys.

Started with a 0.2 inch strip of hot rolled steel.  Marked out the shape and cut it on the HF band saw in the vertical position.  The 2nd photo is the key after a bit of filing but not done.


To get the width just right the key was test fitted backwards in the tailstock keyway. Next it was tested in the final position.  The lip that holds it in the tailstock had to come down quite a bit. The last image is the key installed with the quill in place. The stick out is there to aid in removal.  Not sure if the original did but there is no harm in it.


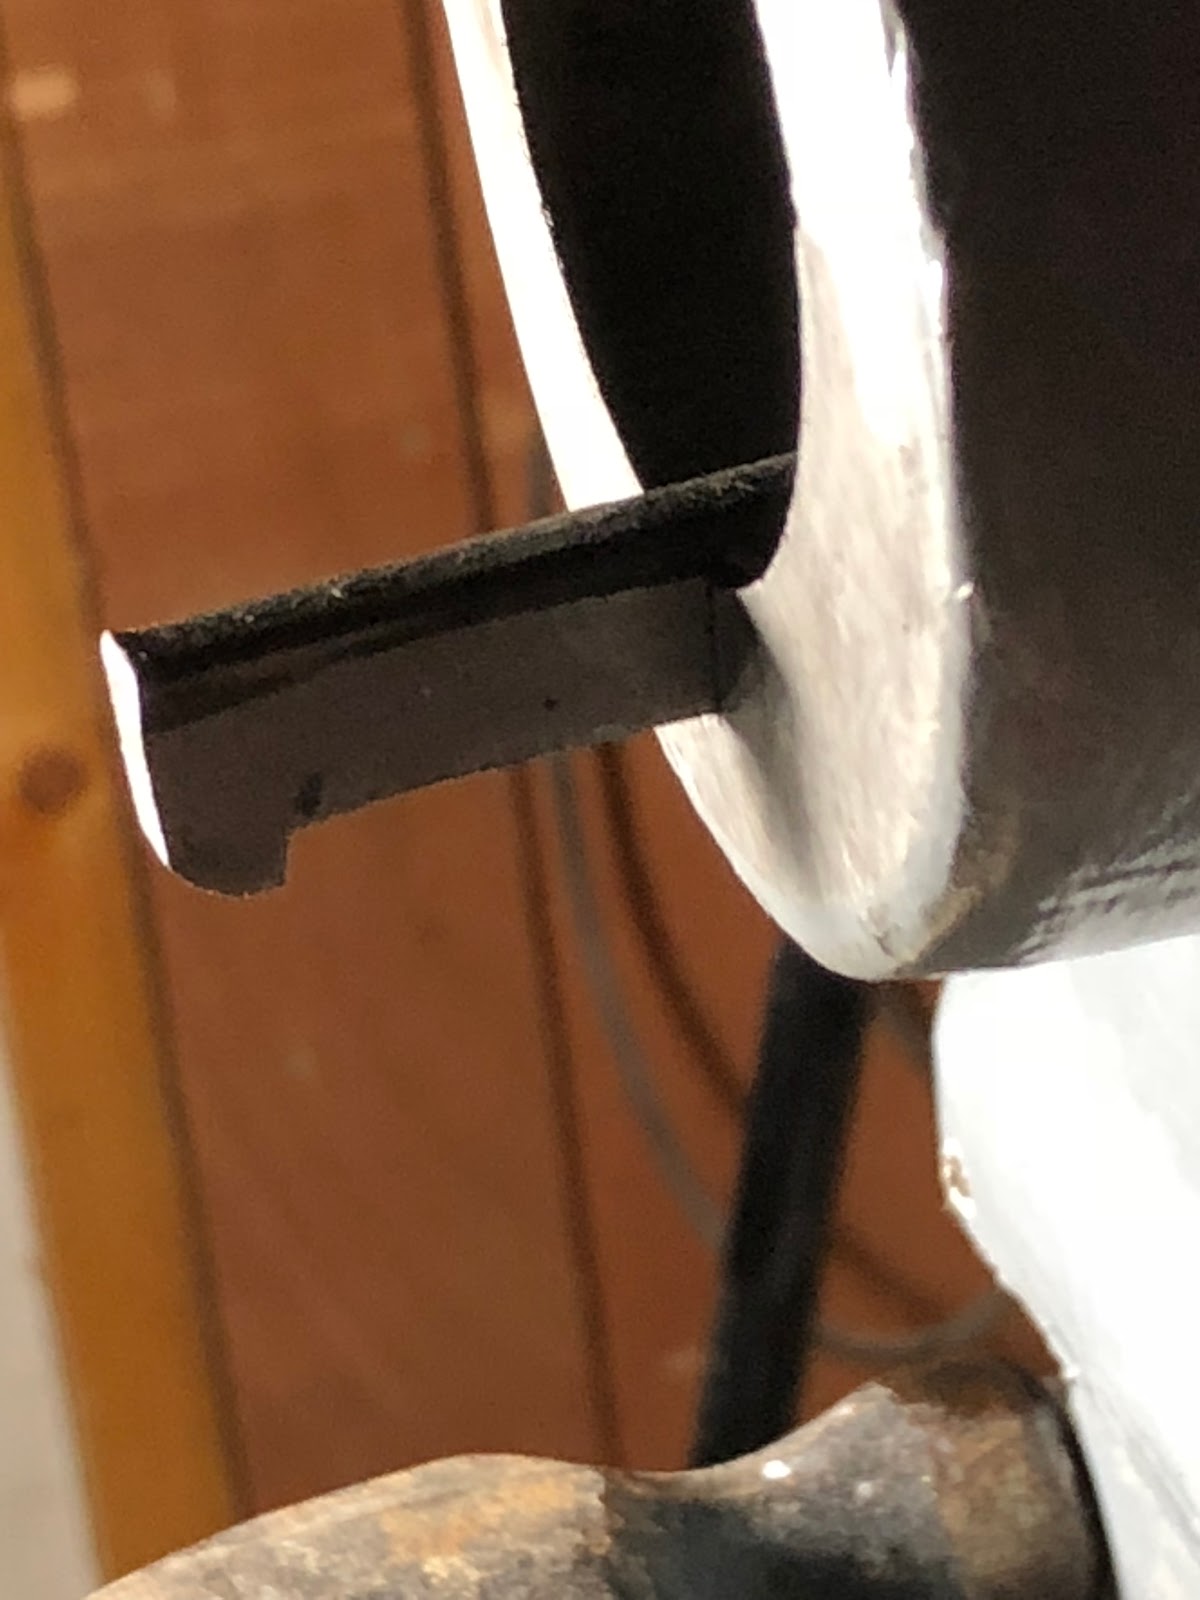
The key is a tight friction fit in the tailstock and a sliding fit in the quill.   The quill was tight but the key is fairly soft and it soon loosened up.  Its a good fit with less play than the original key.  It may help with the quill locking if it forces the quill to the top of the bore. 

Wednesday, February 21, 2018

Drip Oiler Gaskets

Although I previously cleaned and reassembled the drip oilers the gaskets leaked.  New ones were cut using cricut and make the cut.


The outside dimension is 1.55" and the inside 1.25.   1.54" may fit a bit better.  My gasket material is a little on the thin side so I used 2 or 3 gaskets in the bottoms.


Monday, February 12, 2018

Tailstock alignment and Dead Center

To align the tailstock we need to know the exact center of the headstock.   This is done by turning a  60 degree taper which can later be used as a dead center.  A pin with threads in the printers junk was used.


In these images you see a smooth center and a rougher one.   The smooth is in the tailstock, other in the headstock. 

The left image, with the dial showing, is taken from the top and illustrates the left/right alignment.  This is easily adjusted with two bolts on the tailstock.   Mr Pete shows a method using a dial indicator mounted in the chuck to check the center in the tailstock.  The plan is to use this to further refine this alignment.

The right image is taken from the side and illustrates the up/down misalignment.  Luckily the tailstock on the left is lower than the headstock and can be raised with shims between the two halves of the tailstock.  The 'interesting' part of this will be getting the tailstock quill in line with the spindle.  If its skewed it will make drilling difficult.