Today I took a look at another one of the trash pumps. Cosmetically the engine is in decent shape for its age so the goal is to repair rather then restore. It is the red 3HP engine with the blue pump. Model 82232, meaning 8ci", roller bearing, and pull start. Date code is 1986 which is post 1982 and means it has electronics ignition. This unit has a straight output shaft with a threaded end. No keyway. Best of all this engine has a cast iron sleeve.
Parts Manual,
User Manual.
This engine, the red one, is over 20 years newer then the 3 other 3hp engines. It will be interesting to see the changes. The 3 little briggs are series 0 engines and this is a series 2.

I cleaned the spark plug using a propane torch, a trick I learned on youtube from +
sixtyfiveford,
I need to see if the ultrasonic cleaner works on plugs. A short workout on the pull starter but "no joy".
To go any further the pump had to be removrd. Mostly it was easy. The impeller was threaded onto the output shaft and removed using pbBlaster, a little heat, and a few raps with a wrench to vibrate the oil into the rust. Then I took the engine over to the other shop and used s 20+ year old air chisel to unscrew the impeller. At first glance the pump seems functional but is missing it hose connectors.
With the pump gone I pulled off the blower shroud and head. The valves look good. You can feel a compression release acting on the exhaust valve. See
Briggs and Stratton Innovations. Very little hard carbon but a lot of soot. The cylinder wall looked good too. I did not measure it.
With everything looking good under the hood I started to put the head back on. The UPS man had just delivered my "TEKTON 24320 1/4-Inch Drive Click Torque Wrench" from Amazon and I anxious to give it a try. Sadly it did not matter what it was set to it did not click. It even jammed up as one turned the adjusting ring. It is going back. I put the head back on guessing at the torque.
I have been twisting off bolts since I was a kid so I have to take a bit of care. Anyway after adding a dribble of gas to the intake I spun the overrun clutch with my 3/4" drill. The thing would fire and stop the flywheel dead in its tracks. I did get it to run once and it ran quite well till it used up the gas.
Given that we know the valves are working correctly I would guess that the flywheel key is sheared. Just to be safe I am letting it rest over night with a dribble of pbBlaster on the exhaust valve stem. But my bet is on the key-way.
To check I will have to pull the overrun clutch and remove the flywheel. For the time I am ignoring the carb and fuel tank. If the engine won't run it don't need fuel.
If the output shaft of this engine is the same as on the generator it may end up doing duty there. Would need to tear further into the generator to find out. So far I have only removed the shroud. I may even put the trash pump back on it if I can get the hose connectors I need of one off the other pumps. The 3 hp is not quite so hard to move around as the larger ones.
Thinking that the key is sheared I have been doing some reading on
http://oldMiniBikes.com tonight. It was very informative.
- Never use a steel key
- Torque flywheel to 60 ft/lbs
- Never strike the flywheel
- Lap the flywheel to the crankshaft with valve lapping compound
- Use a 1" socket on the starter drive to tighten it with a torque wrench
- The concave side of the washer faces the flywheel
The claim is that if you lap the flywheel-crankshaft fit it takes the strain off the key. So much so that a key is not really needed. I have visions of going through keys like water so this was good news. I have been using a 1" socket to drive the starter to crank the engine so #5 is a bit of a no brainer but good to see it in print. Even if it is not the sanctioned method.
A guy on ebay has 25 keys for $11 including shipping.
Pulled the flywheel today and the key is not sheered. Put it all back together and it did the same thing. Next I changed the plug, screwed on the impeller to give it more rotating mass (flywheel effect) and put the pull start back on. It started. Took off the impeller, it still started. The pump impeller is cast and has been brazed! Think shrapnel ! This pump is junk unless another impeller from the lot fits it.
Drained the oil
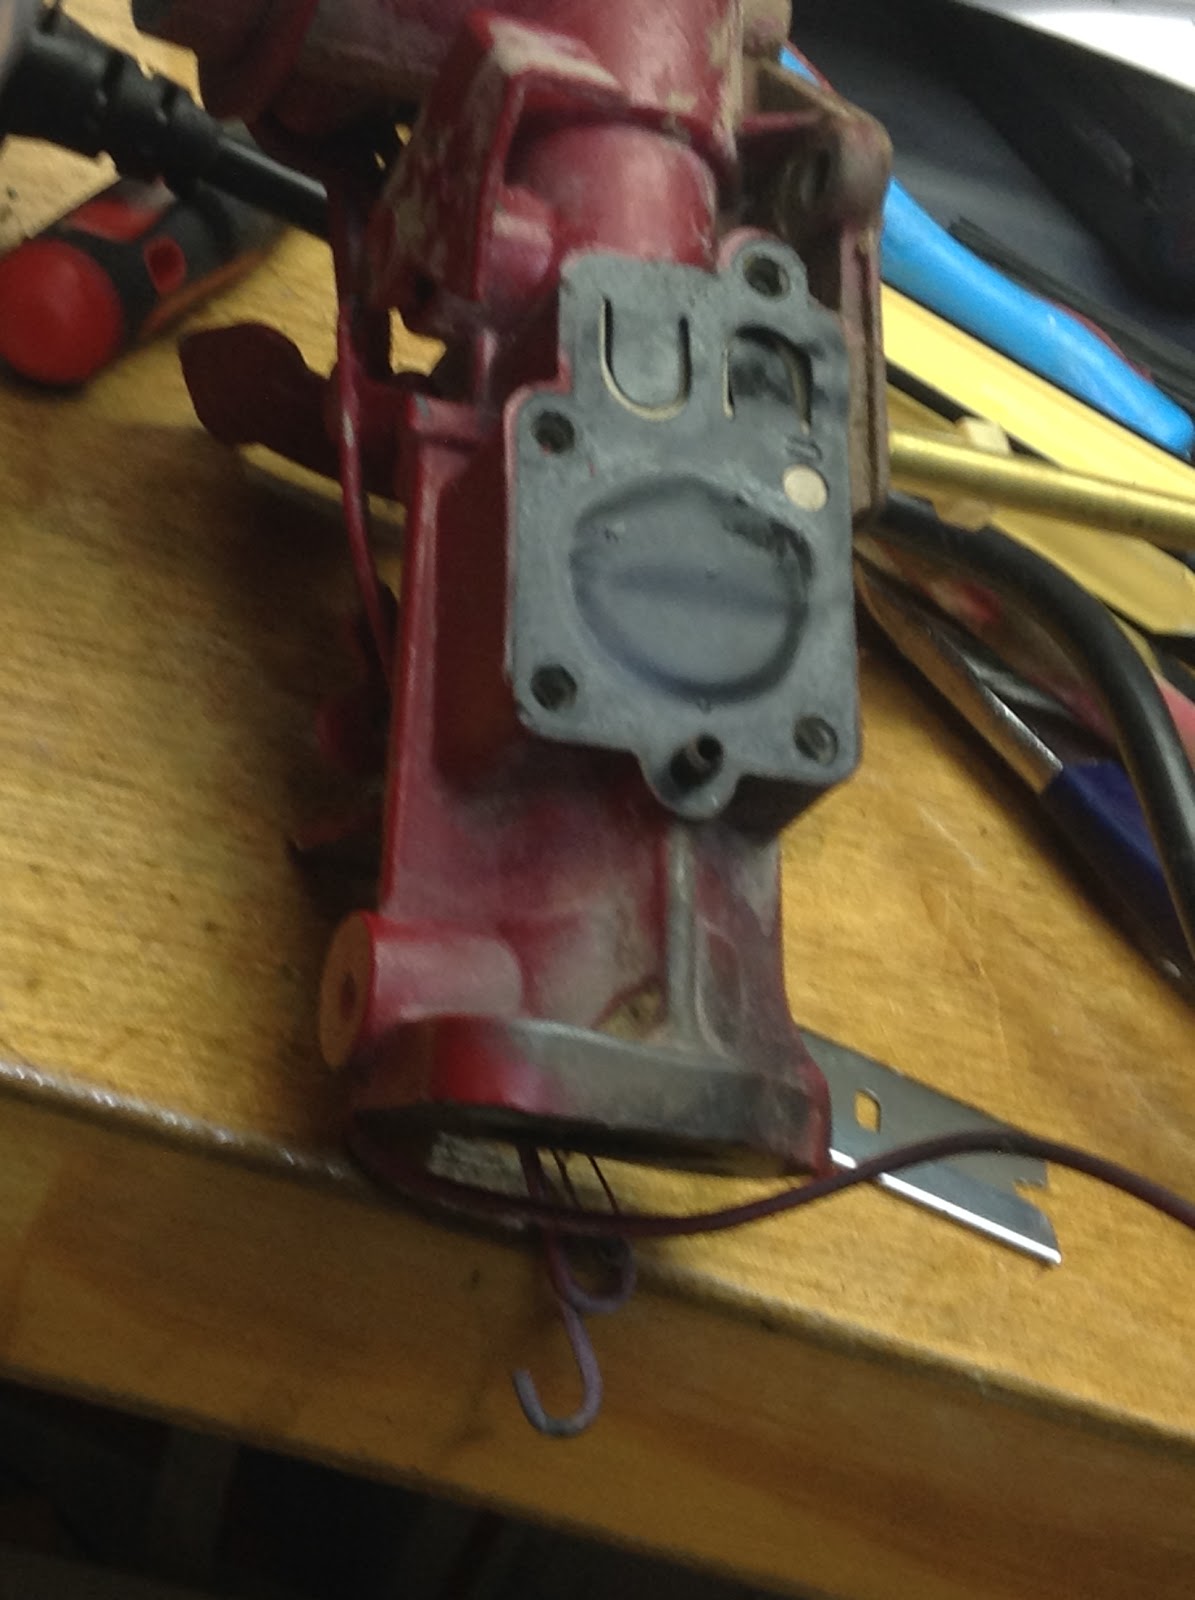
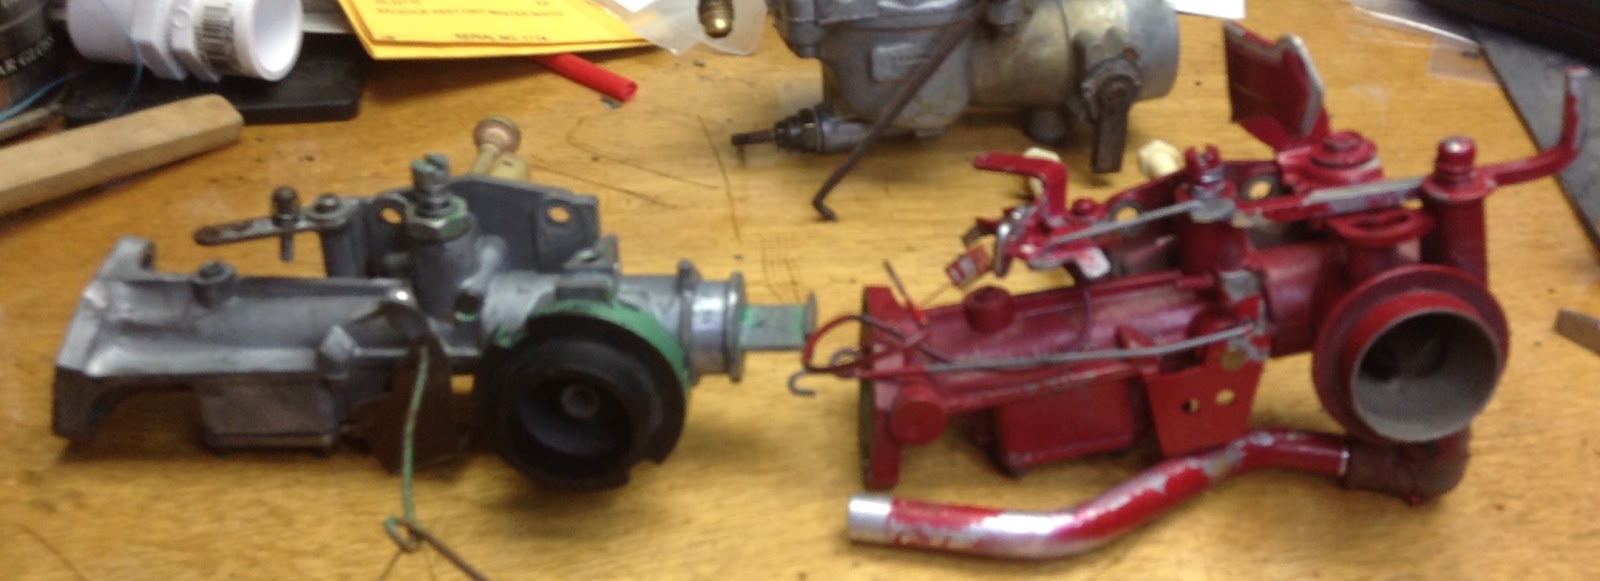
Next the Carb.

 I made a video but all you can hear is the metal base on the motor banging against the metal stand it is sitting on.