


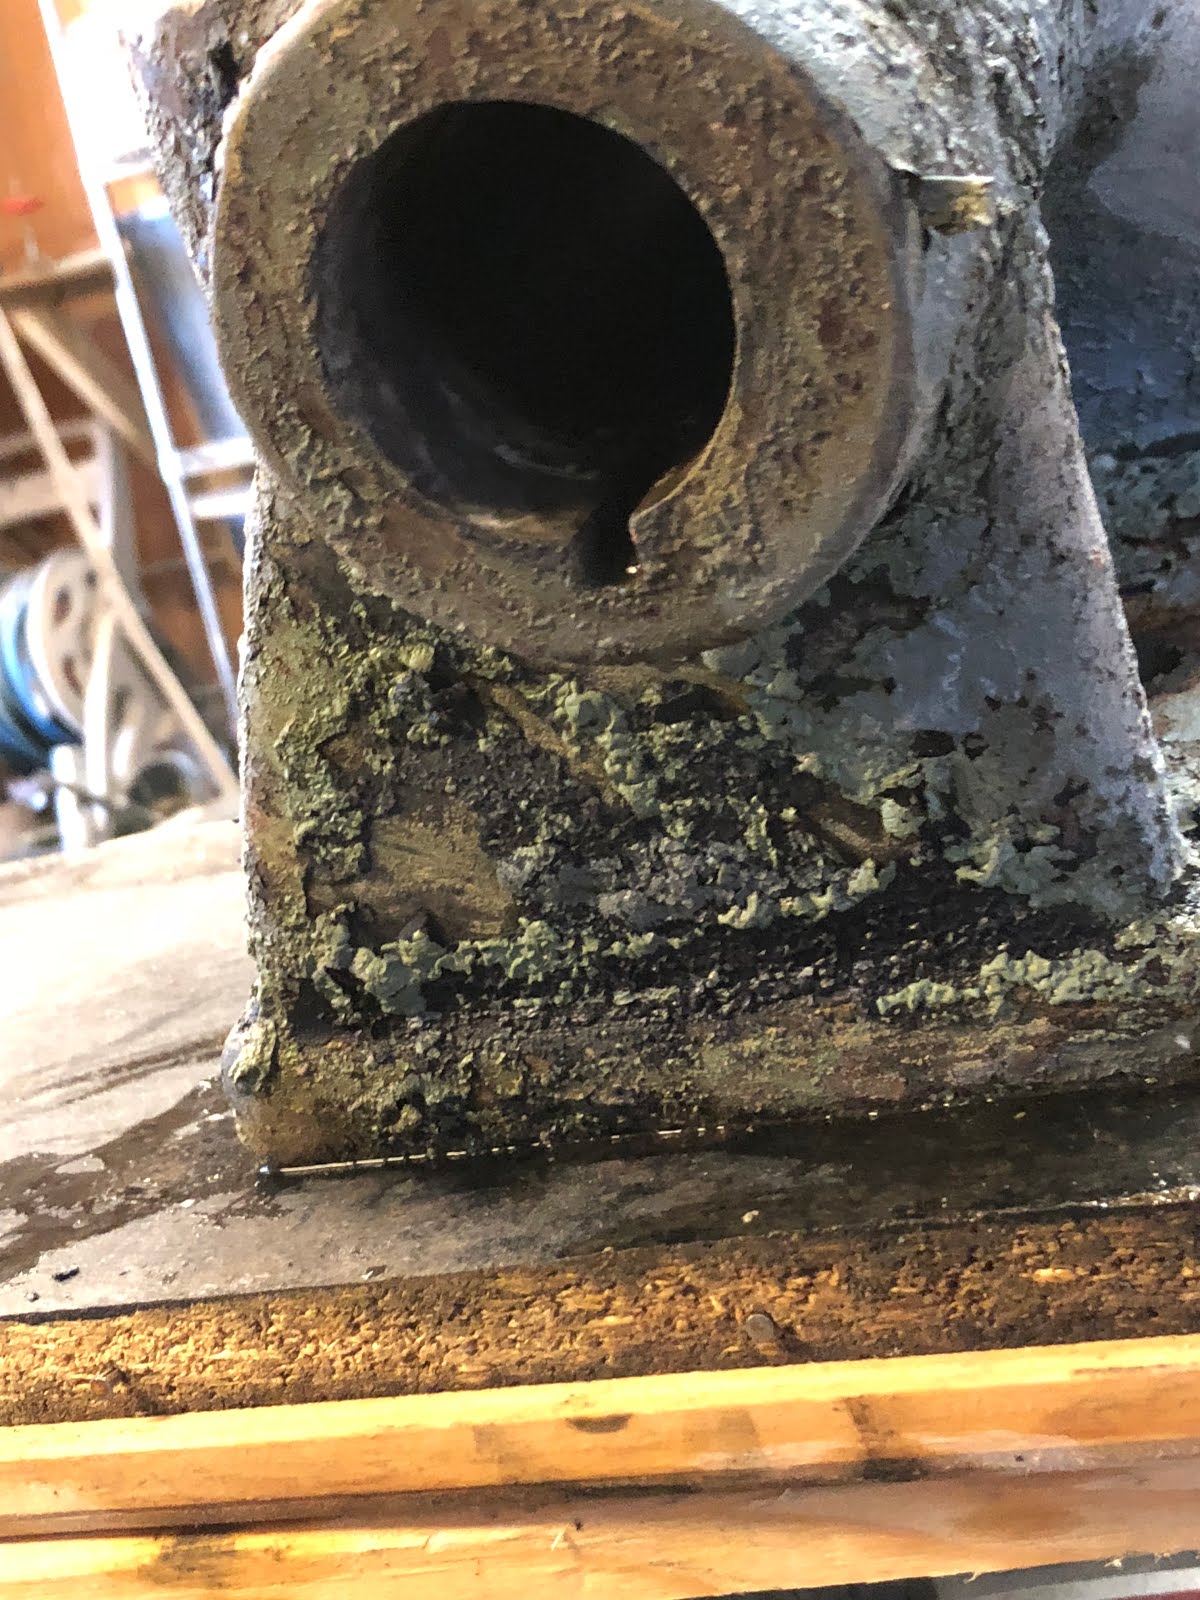
 I had the steady rest in the electrolysis tank earlier, maybe did not leave it in long enough. Opted to strip the paint from it and the tailstock by cooking them in the heated parts washer. But first I had to remove the base from the tailstock. It contained shims both front and back. Warped the shims with plastic wrap to keep the front and back shims separate


 Tailstock and steady rest after paint removal
 The headstock base is finally in paint, but I added a bit of thinner and it may get a 2nd coat.
 Started work on the headstock base. Seen here with the first application of bondo. About the only thing left are the bearing caps. There is also the gear cover but it will not get painted until after it is brazed back into one piece. There are a few gears and other small bits but they only need cleaning and painting as a rule.
 Rearranged things a bit in the afternoon to move the lathe bed. Wanted to set the bed down to free up the cherry picker and move things around to make more space.

 Spent most of the morning refining the edges and to some degree shape of the headstock cover. I figured I was about done with it but did not like the way it looked. Lines were already blurred the factory Japannig. What can I say.


 This morning I put the rack on the bed. Cleaned out the pin holes with a round file and put anti seize on the pins. Cleaned the bolt in the ultra sonic cleaner. Chased the threads on the bolt and the holes in the bed. Anti seize on the bolts.
 Removed the excess with a 40 grit 5" random orbital sander. This is quite an improvement over what it was.


 Sanded bondo and added glaze to a few imperfections. After sanding the glaze it looks about the same as prior to adding it.


