Started to take the rear end of the 12.5/40 and twisted off a bolt in the transmission with the electric impact. Put PB Blaster on the other bolts and left it.
Checked the cylinder bores on the JD111's opposed twins. One good one needs a rebore. I sort of expected the cylinders bore to be the same from the factory. But both engines have cylinders differing by a thou or two.
Took the starter off the horizontal briggs opposed twin yesterday. Collected several starters that look like candidates for fixing. Dry bearing and stripped gears mostly. No idea about the condition of the brushes. Found starter drive kits for $7 and $10 at tewarehouse. Even have a pin punch to drive out the pins.
14.5/40's opposed twin needs a starter, the one on it only works when cold. Maybe I have a spare armature. This has a new gear. Maybe move it from the truck to the shop where it is a little warmer.
The horizontal opposed twin needs a starter. The gear on it is stripped.
Have a starter for a briggs single. It needs cleaning and greasing.
Too cold even in the shop to do much.
Found bat4kids again on ebay. But on the tablet funny nor on PC.
Finished cleaning this one but forgot the starter drive.
Continued cleaning starters on Monday the 30th and replaced the sick starter on the Murray 14.5/42. Cranked good but the engine did not start. Was cold and could have been out of gas.
Sunday, November 29, 2015
Saturday, November 28, 2015
287707 0225 01 Carb
I was expecting to open this carb up and toss in into the dead carb box. But it may be salvageable. It is a walbro. Less gaskets to buy!
The float pin came out easy enough but the needle valve is stuck and I can not get the float off without breaking it. One round it the ultrasonic did not free it. I would have expected it to if it were only head in by gum. If it is expanded rust it maybe hopeless. There is a walbro from the 31's. If it is in good shape I may just move the jet from this carb to it. That is providing the get will come out. As you can see in the image I need to go outside and get a screwdriver with a larger blade that has been modified for jets. Hope I have one. The bolts holding the carb on to the intake tale an 8mm wrench.
 After some more time in the ultrasonic I managed to get the float off the needle and then used a screwdriver to pry the needle up. The gunk holding the needle in was not rust.

 It maybe useable but iffy for long term use.

 Hit the bowl with carb cleaner and the ultrasonic. It too has corrosion. If the carb works I will replace it and maybe the needle.
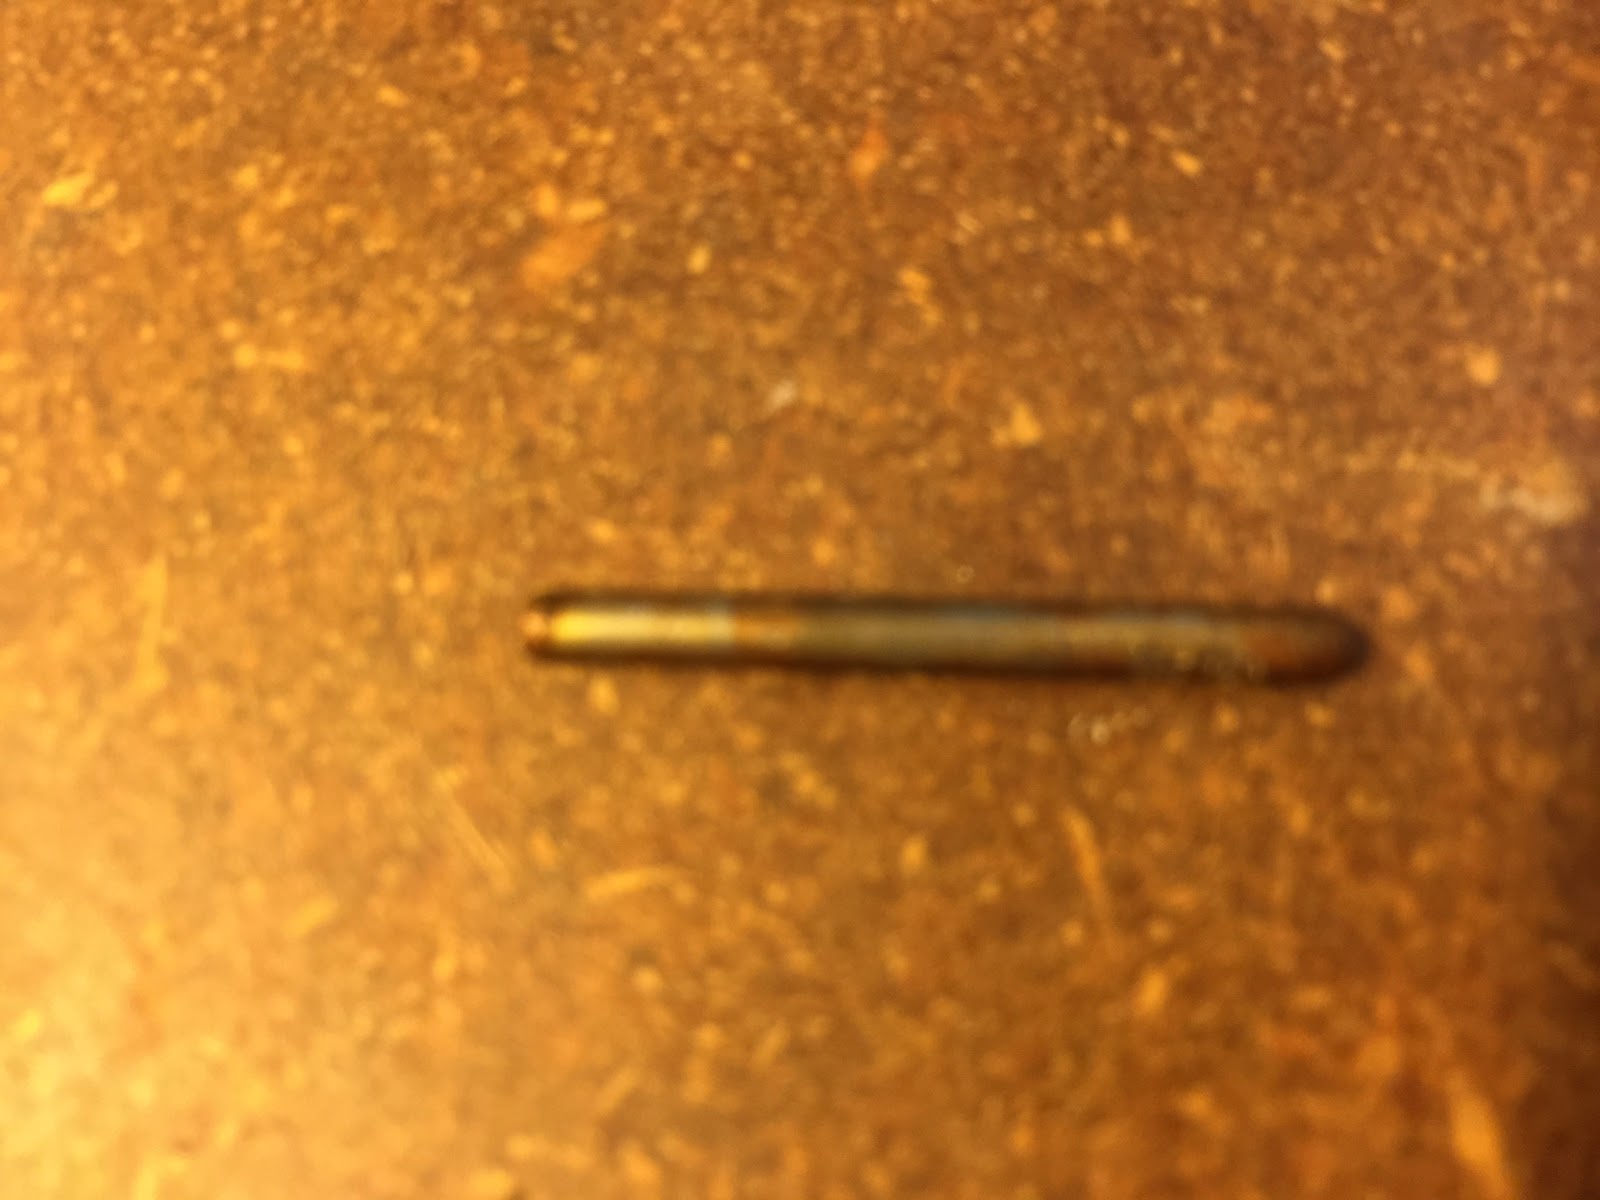
 The main jet / emulsion tube cleaned up nicely.
 Although the exterior of the idle adjusting needle is ugly the actual tip is nice.
 Time to put it back together. The fuel shutoff is still very stiff. For now push it down.
Like the dents in the float bowl.
OK to test this I need a new fuel inlet elbow. Gave my sparer to Jess. Wonder if one can connect a hose to what is there. No sense wasting the elbow if it is junk.
The bowl could use a new gasket. It is an o-ring. Need to check stock on that.
 |  |  |
 |  |  |
The float pin came out easy enough but the needle valve is stuck and I can not get the float off without breaking it. One round it the ultrasonic did not free it. I would have expected it to if it were only head in by gum. If it is expanded rust it maybe hopeless. There is a walbro from the 31's. If it is in good shape I may just move the jet from this carb to it. That is providing the get will come out. As you can see in the image I need to go outside and get a screwdriver with a larger blade that has been modified for jets. Hope I have one. The bolts holding the carb on to the intake tale an 8mm wrench.
 After some more time in the ultrasonic I managed to get the float off the needle and then used a screwdriver to pry the needle up. The gunk holding the needle in was not rust.
 It maybe useable but iffy for long term use.
 Hit the bowl with carb cleaner and the ultrasonic. It too has corrosion. If the carb works I will replace it and maybe the needle.
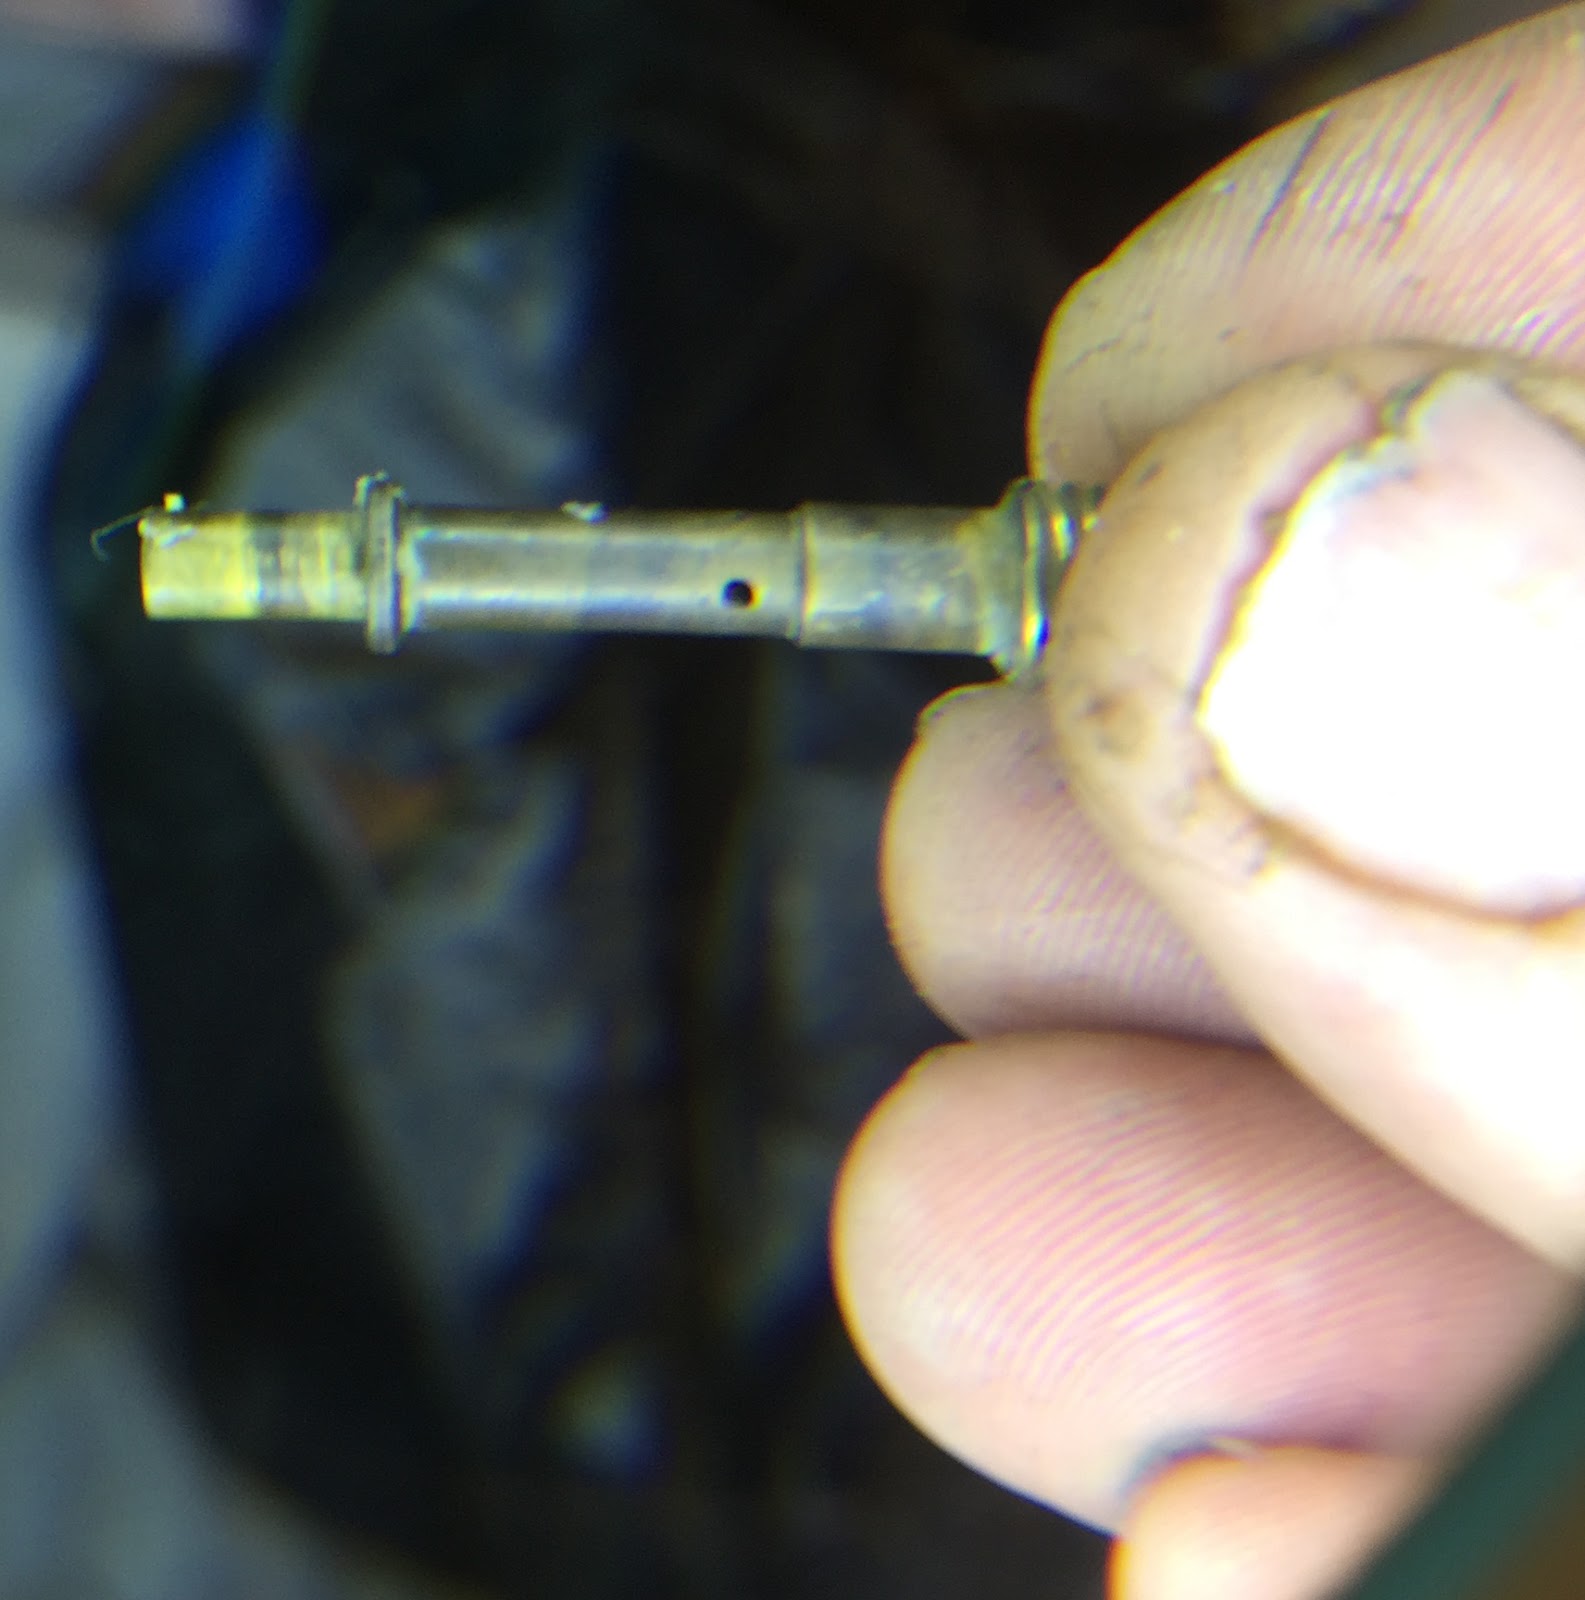
 Although the exterior of the idle adjusting needle is ugly the actual tip is nice.

 Time to put it back together. The fuel shutoff is still very stiff. For now push it down.
 Like the dents in the float bowl.
OK to test this I need a new fuel inlet elbow. Gave my sparer to Jess. Wonder if one can connect a hose to what is there. No sense wasting the elbow if it is junk.
The bowl could use a new gasket. It is an o-ring. Need to check stock on that.
Tuesday, December 1, 2015
Ordered parts from tewarehouse. They were cheaper than even amazon prime add-on with $4 shipping and OK tax. Would be a bummer it the carb did not work.
3 starter gears
oil seal for dipstick tube
carb bowl with gasket and bolt to replace solenoid
needle
breather tube
Thursday, November 26, 2015
Craftsman 2400PSI 2.2GPH 5.5HP Pressure Washer
Craftsman 580.768341 Manual is L0209032.pdf
Last time I worked on this machine the honda 5.5HP would not run without carb cleaner as fuel.

Today I took the carb off to clean it.
Image for how the linkages attach and a reminder to replace the tube going to the air cleaner. I love the way honda attaches its carbs. 3 bolts was all I had to remove.
The main jet came out with a bit of work but it was clogged. I boiled it for a while and then ran it through the ultrasonic cleaner. That removed all but the obstruction in the actual jet passage. To clean it I used my torch tip cleaners.
 The emulsion tube did not want to come out either. A guy in another video knocked the carb on the table but that did not work. I noticed the emulsion tube extended into the venturi so I pushed it down and back up a few times using a screwdriver. This and some carb cleaner worked it loose. It fell out.
 Once the main jet and emulsion tube were out and clean the rest was easy. Took out the crew over the fuel transfer port etc. A few rounds in the ultrasonic cleaner and then put it all back together.
I slapped the carb back on the motor and the thing started on the first pull. I was not ready for that. So I turned it off and made a video.
Today I installed the new pump. The instructions were useless. About the only bit of info that helped was the note about using the thermal relief valve from the old pump to the new. Even that was flawed.
To make this happen I needed to sandwich the frame between the motor and the pump using bolts from my stock. The supplied bolts were too thin and the ones on the unit were too short.
I replaced 2 of the existing bolts with long studs made by grinding the head off bolts. The motor was strapped to the frame using a web clamp. The one I use for mounting tires. The clamp keeps the motor from falling off the studs. I flipped the unit over on its back.
 To keep the engine shaft from sticking too far into the pump I used the provided spacers and two thick washers. I replaced the 3rd bolt using this setup. I removed each stud and replaced it with a bolt, spacer, and 2 washers. To keep the bolts in place I used blue locktite.
 The manual shows a o-ring between the engine and the pump, #18. Given that this pump sits over an inch away from the engine I don't see where it would work.
This all sounds easier than it was. But it worked and that is all that matters.
Unfortunately I did not find any specifications on the pump. But the original pump was listed at 140F max water temperature. I expect this one is similar.
 A pressure washer should not be started without water flowing through the pump. So I pulled out the latest Murray and jacked up the pickup so I could clean the underside.
I had some trouble with the wand but got it working.
 The brass widget is a temperature sensitive valve. If the water in the pump gets too hot this valve opens and drains the hot water letting cool water enter the pump. It dribbles but does not seem to be a problem.
The unit is usable so for now I am calling it good enough.
Last time I worked on this machine the honda 5.5HP would not run without carb cleaner as fuel.


Today I took the carb off to clean it.
Image for how the linkages attach and a reminder to replace the tube going to the air cleaner. I love the way honda attaches its carbs. 3 bolts was all I had to remove.
The main jet came out with a bit of work but it was clogged. I boiled it for a while and then ran it through the ultrasonic cleaner. That removed all but the obstruction in the actual jet passage. To clean it I used my torch tip cleaners.
 The emulsion tube did not want to come out either. A guy in another video knocked the carb on the table but that did not work. I noticed the emulsion tube extended into the venturi so I pushed it down and back up a few times using a screwdriver. This and some carb cleaner worked it loose. It fell out.
 |  |

I slapped the carb back on the motor and the thing started on the first pull. I was not ready for that. So I turned it off and made a video.
Today I installed the new pump. The instructions were useless. About the only bit of info that helped was the note about using the thermal relief valve from the old pump to the new. Even that was flawed.
To make this happen I needed to sandwich the frame between the motor and the pump using bolts from my stock. The supplied bolts were too thin and the ones on the unit were too short.
I replaced 2 of the existing bolts with long studs made by grinding the head off bolts. The motor was strapped to the frame using a web clamp. The one I use for mounting tires. The clamp keeps the motor from falling off the studs. I flipped the unit over on its back.
 To keep the engine shaft from sticking too far into the pump I used the provided spacers and two thick washers. I replaced the 3rd bolt using this setup. I removed each stud and replaced it with a bolt, spacer, and 2 washers. To keep the bolts in place I used blue locktite.
 The manual shows a o-ring between the engine and the pump, #18. Given that this pump sits over an inch away from the engine I don't see where it would work.
 This all sounds easier than it was. But it worked and that is all that matters.
Unfortunately I did not find any specifications on the pump. But the original pump was listed at 140F max water temperature. I expect this one is similar.
 A pressure washer should not be started without water flowing through the pump. So I pulled out the latest Murray and jacked up the pickup so I could clean the underside.
I had some trouble with the wand but got it working.

The unit is usable so for now I am calling it good enough.
Sunday, November 22, 2015
Murray 18/46
They guy that sold me this tractor told me it had a wasp nest in it and he was right. It is cold enough that they are not active. Maybe the nest is dead. Don't know.


At some point I must have changed or fixed the starter, in an earlier post I talked about the starter gear not retracting.
So far I have only gotten this tractor started by jumping a battery to the starter. I set out to figure that out today but did not get too far. I will crank if I jumper across the relay. But the key does not activate the relay. The gas tank was removed to get to the switch. The switch is out but that is as far as I got.
Monday, November 16, 2015
Briggs Push Rods
Found this on a briggs web page
Type of Push Rod Based on Engine:
Single Cylinder OHV - Model Series 260700, 261700 upper push rod (exhaust) is hollow. Model Series 28N700, 28Q700, 28U700, 28W700, 287707, 310700, 312700, 313700 exhaust push rod has a red band of paint for identification and is steel.
Intek V-Twin OHV - Intake push rods are aluminum.
Vanguard V-Twin - All models (except 540000, 610000) exhaust valve push rods are aluminum. Model Series 540000 and 610000, all push rods aluminum.
Saturday, November 14, 2015
Dirty Work. Bench
 Today while working on the 14.5 briggs vertical engine I got tired of the output shaft being in the way. I grabbed the big drill and made a hole in the bench. This was my plan from the start but never got around to it.
287707 0225 01
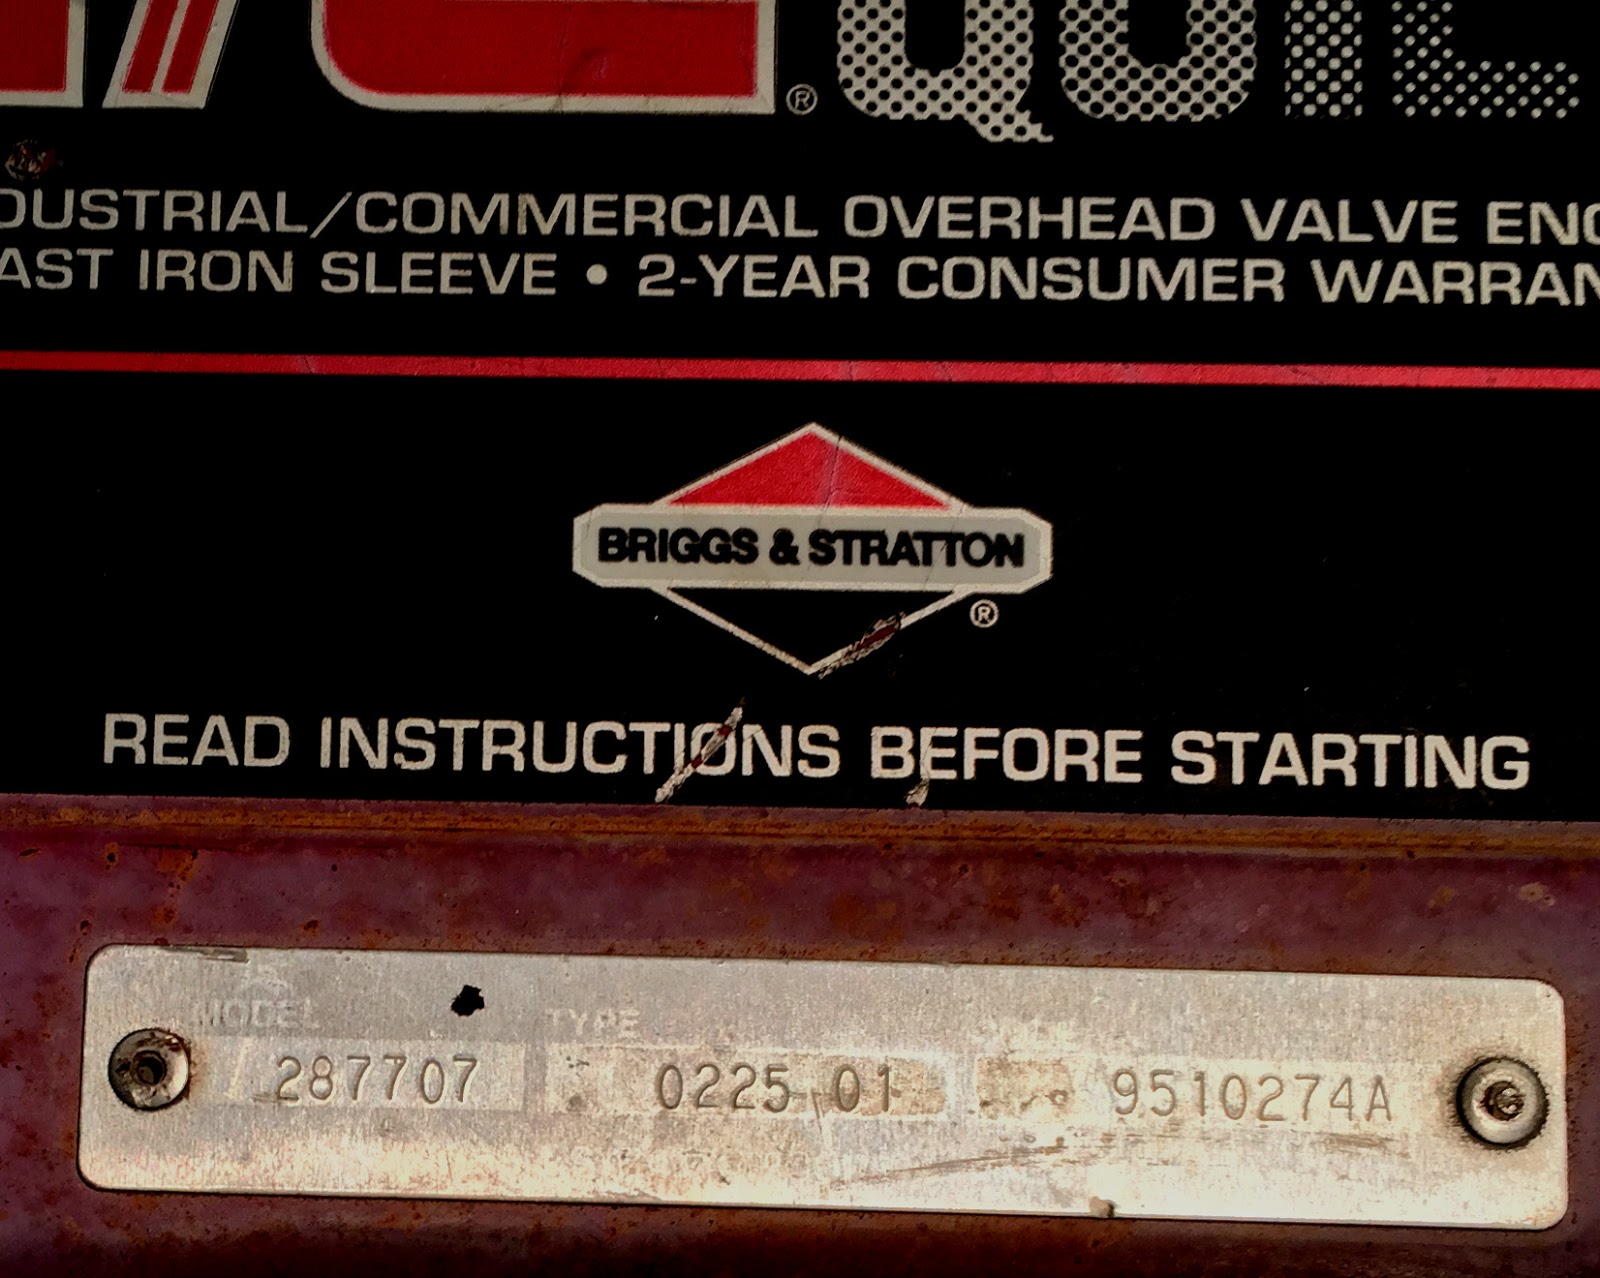
287707 0225 01 9510274A
Edited the contrast and brightness to make it more readable.
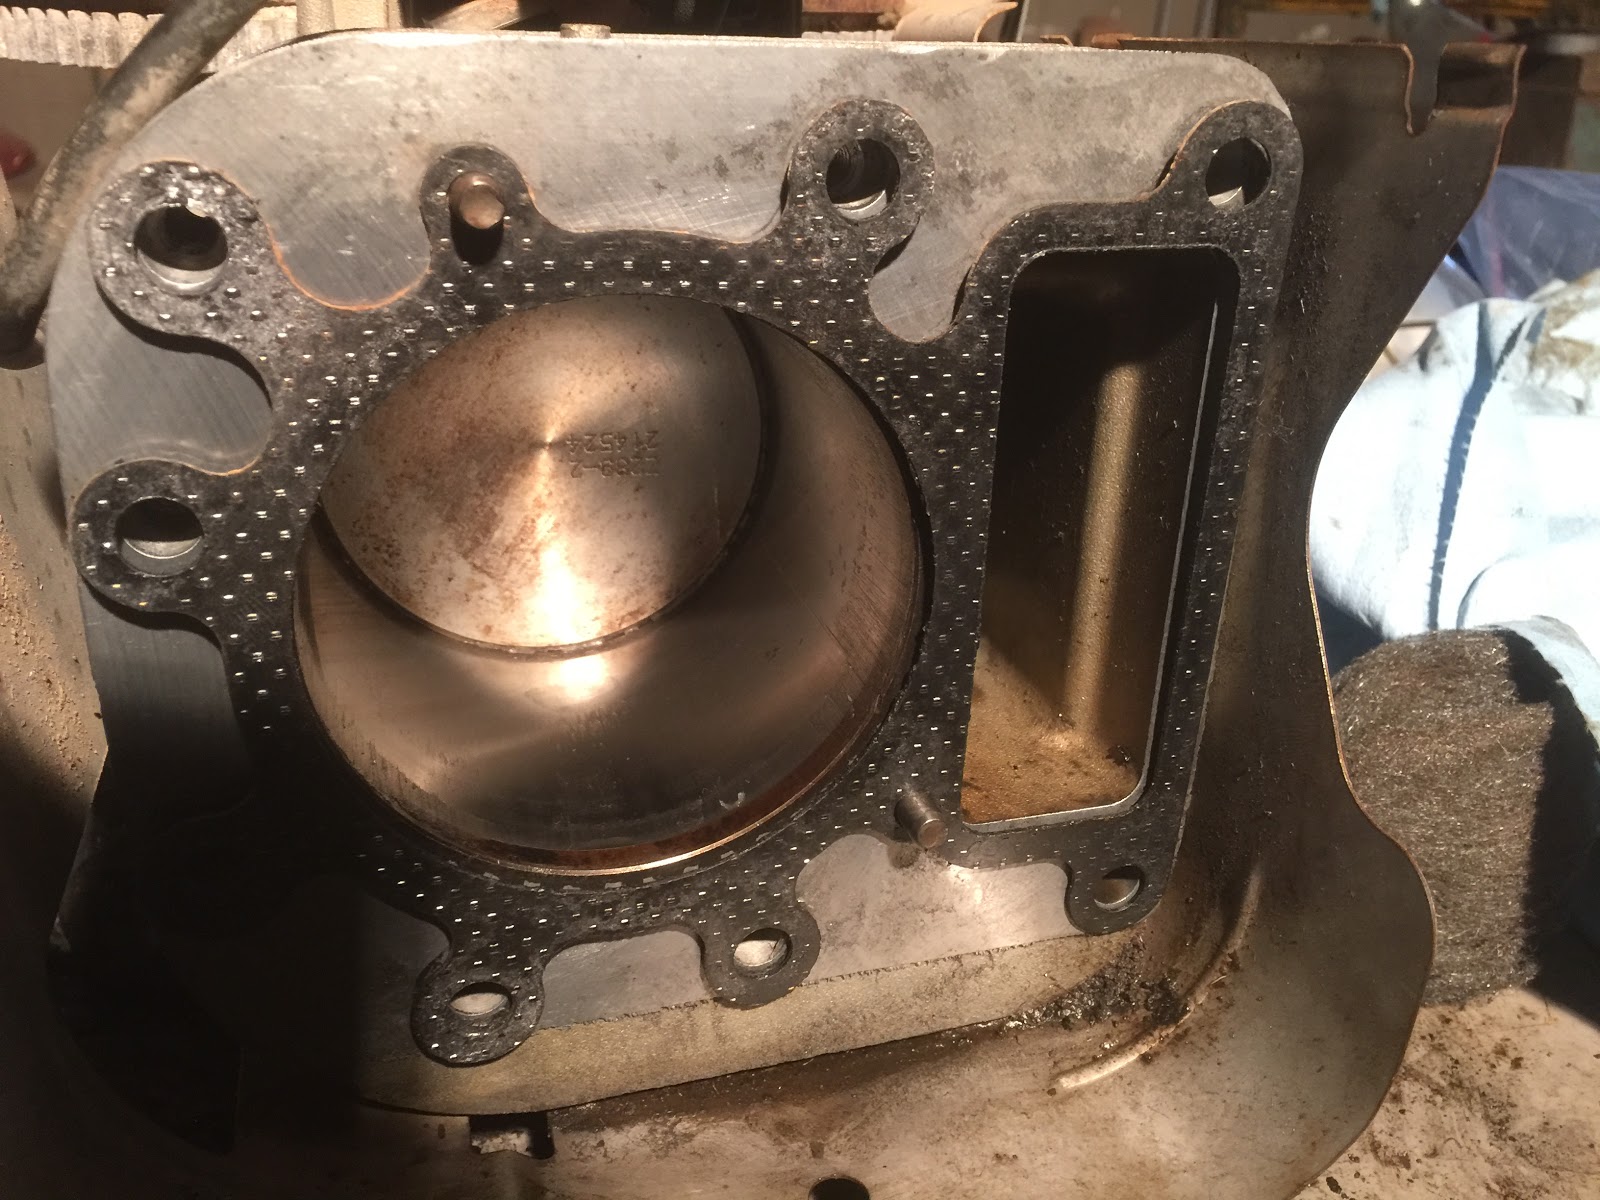
I have been sitting on this engine since September 3rd of this year. It seem longer than that because I have aquired 3 tractors since then. Today I took the time to pull the head and check out the cylinder bore. No exact measurement but it seems to be within 2 or 3 thou which is surprising. The oil looked nasty and I was thinking it was full of dirt because this tractor came without an air cleaner. It did have a new sparkplug and maybe a new head gasket.
Some images of the disassembly. Although this engine looks good so far it could really go either way. There is some corrosion or carbon on the top side of the cylinder bore. No idea what that is about.
 |  |  |
 |  |  |
 |  |  |
 |  |  |
I put the head back on but have not torqued it. Need to figure out which pushrod goes where.
Monday, November 16, 2015
Torque procedure is the same as for the 28ci.
Friday, November 20, 2015
Installed and torqued the head. Set the valves after pulling the head back off to make a timing mark on the flywheel. Installed the starter from the LT1000(2). Did a compression test and got 75psi. I have gotten higher on other engines of this type but I think that on this one I have the intake valve set to where the compression release works.

Next I am going to flush it with kerosene not sure how many times that will take. I don't feel comfortable starting it on the dirty bench. May have to bolt it to a tractor for testing;
Should make a vertical engine test stand.
Saturday, November 21
Drained the oil and refilled it with kerosene. Added a bit of acetone to the kerosene. Turned it by hand because I did not want to ignite the mix.
After a few turns it started making noise. Not sure if it was every revolution or every other. If it is every I may open it up. See what it does with oil.
The plan is to change the oil on the DYT4000. It's engine has maybe an hour on it since it was reassembled. But the oil is dark because I pulled the new oil filter and replaced it with the one off the old engine because I feared that vaseline in the pump whent into the filter and stayed. Anyway this oil should be good enough to fire this engine.
Sunday, November 22
Drained the kerosene. Not sure how much good it did. Refilled the crankcase with used oil fresh from the DYT4000 .
Hooked a battery to the starter and shot a bit of carb cleaner into the intake port, neither the carb or muffler are installed. It fired up. This is always a tricky thing to do on an uninstalled motor. It tried to spin but the most exciting bit was the flame shooting out the intake. The compression release at work? Really need to make that motor test stand with a few 10s of pounds of concrete to anchor it.
Anyway I think the interior of this motor is far to dirty to put back into service. I will at least open the sump and then expect and clean it. Next task.
This could end up being a useable engine with lots of life left in it. Given that it was out in the weather with no air cleaner I expect the carb is toast.
Drained the oil and pulled the sump cover. The last person in here did not use a gasket. Just an uneffective bead of sealer. This may explain why the exterior of the engine is so filty.


Looks like crud is confined to the bottom of the sump. So unless something else rears its ugly head I will do a cleanup and put it back together.

Friday, November 27, 2015

It is too cold to install the gasket in the unheated shop. Bring the engine in? Not my idea of fun. But only the forecast says cold for the next week. Not much choice if I want to do this.
Saturday, November 28, 2015
Reassembled the engine early this AM. Came up one bolt short for the pan, 9 instead of 10. Then one of the bolts stripped because there was not enough thread engaged. That sounds related. Anyway I can shorten a head bolt slightly and use it in the stripped hole.
 |  |
 |  |
 |  |
 |
Subscribe to:
Posts (Atom)