Showing posts with label Murray. Show all posts

Tuesday, December 15, 2015

Murray 18/46

Replaced the relay only to find it was good.  I suspect there was a grounding problem.  The new relay (12.5/40) has a busted off post on the cable to the starter.  The cable eyelet is under what was the bottom nut.  If this works long term the removed relay is a spare.


The yellow wire goes to the seat switch interlock.   I have doubts that it should be connected to the battey as it grounds out the coil.

Need to replace the shroud.  Air cleaner bolt that holds the cover is broken.

Wednesday, December 16, 2015


Did that but it did not fire.  Did give me a shock!  It is only 30F so not too suprising.  Should replace the dip stick seal.


Wednesday, December 9, 2015

Murray 18/46

Swapped in the ignition switch from the 12.5/40.  No joy. Next we try swapping out the relay.

Found a wiring diagram that could be correct for this tractor. link

Because the solenoid is not operating I need to check the switches on the clutch and PTO because they pass the signal from the key switch to the solenoid.


Murray 14.5/12.5 Hybrid

The engine is done and I need to finish bolting it down.  Should be running/driving tomorrow.


Two known problems.

The rear tires are 2 different heights even though they are the same size.   One is a new highrun the other is an old Carsile.

The last time I drove this tractor the rear end squeaked a bit.  I have axle bearing purchased for the Murray 12.5/40.  Maybe the can be used here.

Thursday, December 10, 2015

Finished bolting down the engine but one of the legs has a stripped hole.  Need to put a longer bolt and nut in it.  Engine starts well but the battery I used is weak.  Charges at 15V.

Two of the blades are missing from the hydro fan.  Lots of parts number for it but so far have not found where I can get any of them.

Dana 5413 (original number) and 5603
Murray 402082 and 402081

It sounds like one of the clutch idler pulleys is bad.  I already replaced one with a pulley from the 12.5/40.  With luck it is not the same one and I can use the other pulley off the 12.5.

The engine does not turn off with the key.   Found this schematic which could be the correct one although it only goes to 40" and this is a 42".


Changed the oil again.  Used some decades old Chevron that was found in the body shop next door.  It was in a paper can and was starting to get soft.  Even found my punch in pour spout!  Oil is a little funky and I hope it is good enough for the next few changes on this tractor.  Sooner or later the oil should stay clean as expected.

Friday, December 11, 2015

aaa

Tuesday, December 1, 2015

The Murray 14.5/12.5 Hybrid

After replacing the bad starter on the 14.5/40s opposed twin I added a bit of gas and the carb started to overflow.  This was enough for me to give this a try.

When the original 14.5 engine  (note when not if) is finished it will go back on the 14.5/42 which lacks a hood.

The 12.5/40 has rear end problems.

So the plan is to move the hood and dash tower from the 12.5/40 to the 14.5/42.

Image on left is the 14.5 as it arrived.


The first step was to harvest the parts from the 12.5/40.  

Then remove the dash tower from the 14.5/42, not much different than the sequence above.

The replacement dash tower is attached.


Install the gas tank from the 12.5.  The two tractors use different gas tanks.  The one that came with the 14.5 is broken so this merge allows me to use the good tank from the 12.5.


Install the dash and steering wheel.
So far everything has fit without modification.  Next step is to pull the opposed twin and see if the hood fits. I expect it will....

Could not resist. Took some aspirin and headed back out to the shop.  Pulled the opposed twin and installed the hood.  Looks good but need a headlight lense and wiring harness for the lights.


And the results.


Now to finish and install the engine. Buy a headlight lense and maybe down the road a bit some paint and decals. 

Saturday, November 28, 2015

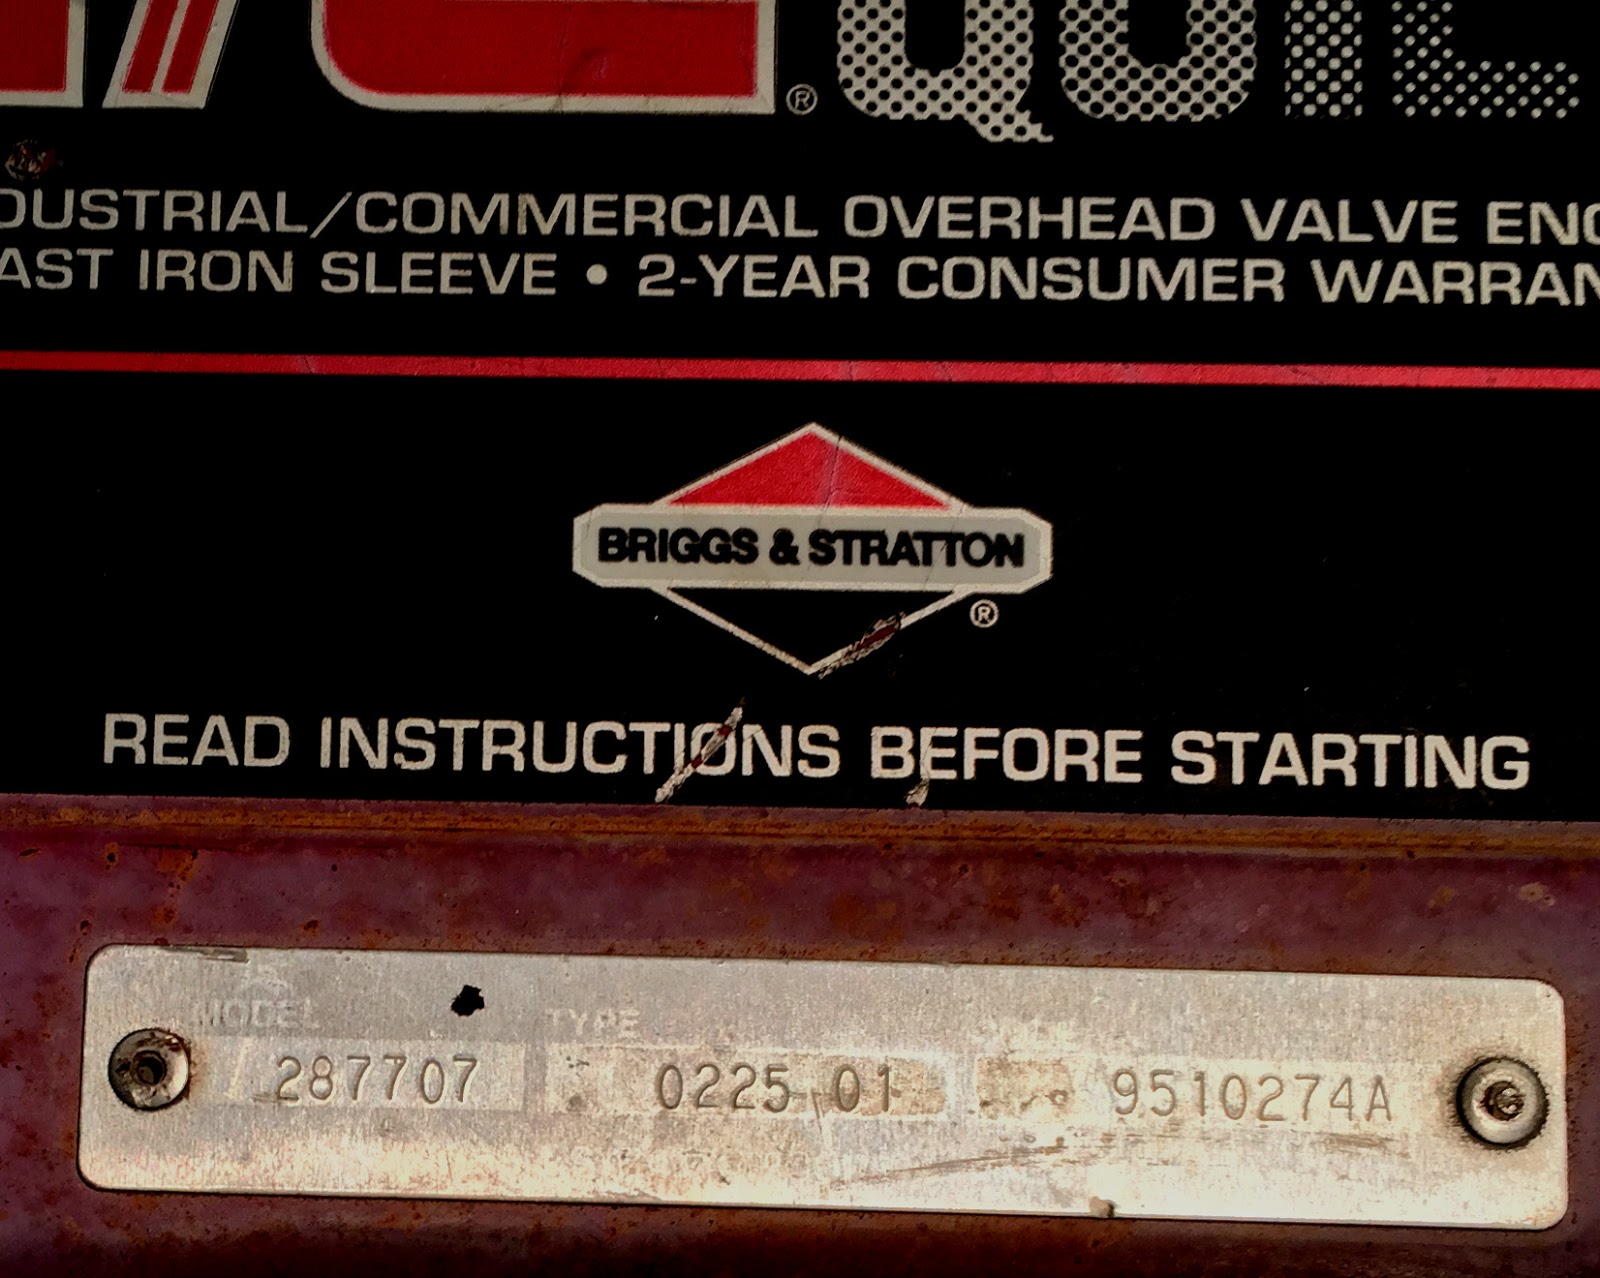
287707 0225 01 Carb

I was expecting to open this carb up and toss in into the dead carb box.  But it may be salvageable.  It is a walbro.  Less gaskets to buy!


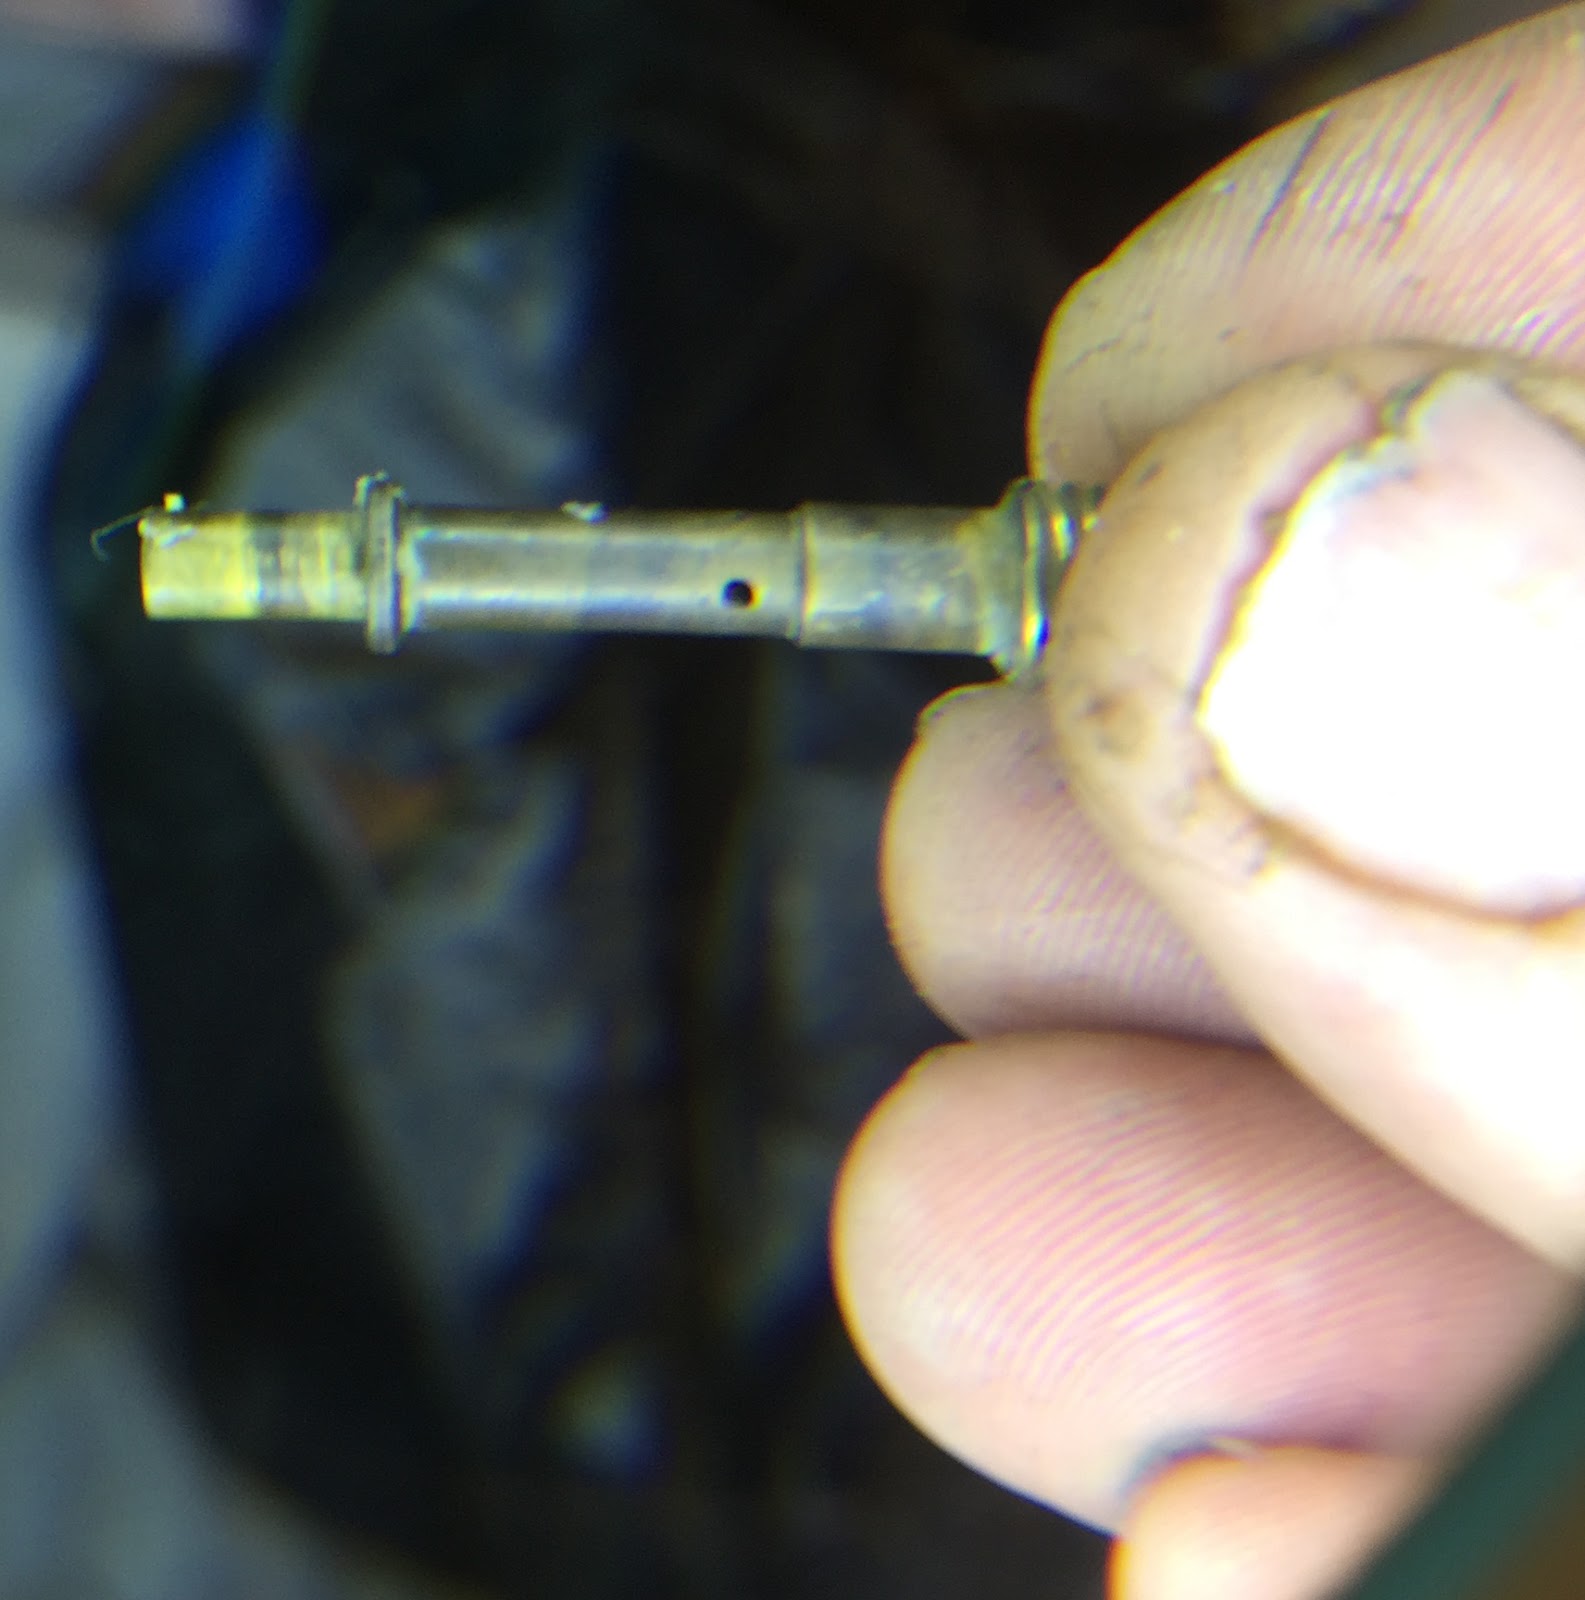
 The float pin came out easy enough but the needle valve is stuck and I can not get the float off without breaking it.  One round it the ultrasonic did not free it.  I would have expected it to if it were only head in by gum.  If it is expanded rust it maybe hopeless.  There is a walbro from the 31's.  If it is in good shape I may just move the jet from this carb to it.  That is providing the get will come out.  As you can see in the image I need to go outside and get a screwdriver with a larger blade that has been modified for jets.  Hope I have one. The bolts holding the carb on to the intake tale an 8mm wrench.


After some more time in the ultrasonic I managed to get the float off the needle and then used a screwdriver to pry the needle up.  The gunk holding the needle in was not rust.


It maybe useable but iffy for long term use.

Hit the bowl with carb cleaner and the ultrasonic.  It too has corrosion.  If the carb works I will replace it and maybe the needle.


The main jet / emulsion tube cleaned up nicely.

Although the exterior of the idle adjusting needle is ugly the actual tip is nice.

The bottom of the carb and the needle valve seat.

Time to put it back together.  The fuel shutoff is still very stiff.  For now push it down.  

Like the dents in the float bowl.

OK to test this I need a new fuel inlet elbow.  Gave my sparer to Jess.  Wonder if one can connect a hose to what is there.  No sense wasting the elbow if it is junk.

The bowl could use a new gasket.  It is an o-ring.  Need to check stock on that.

Tuesday, December 1, 2015

Ordered parts from tewarehouse.  They were cheaper than even amazon prime add-on with $4 shipping and OK tax.  Would be a bummer it the carb did not work.

3 starter gears
oil seal for dipstick tube
carb bowl with gasket and bolt to replace solenoid  
needle 
breather tube

Saturday, November 14, 2015

287707 0225 01


287707 0225 01   9510274A
Edited the contrast and brightness to make it more readable.

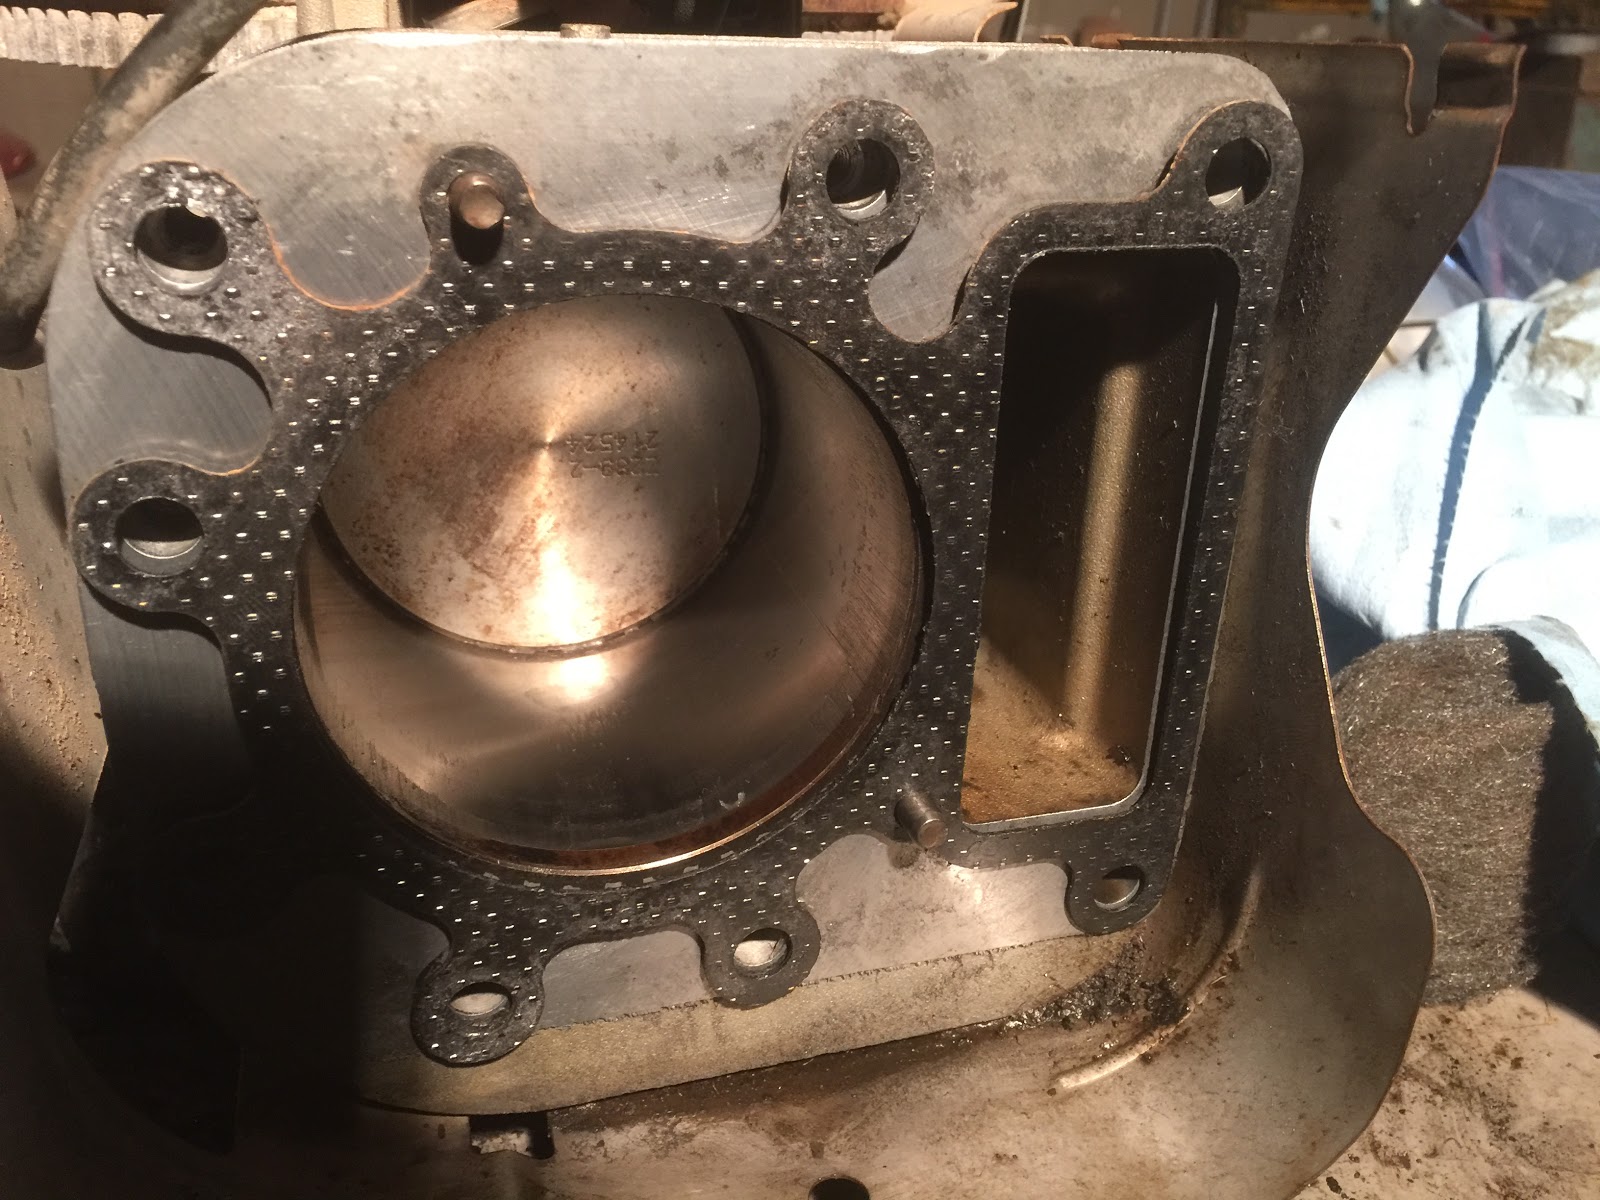
I have been sitting on this engine since September 3rd of this year.  It seem longer than that because I have aquired 3 tractors since then.  Today I took the time to pull the head and check out the cylinder bore.  No exact measurement but it seems to be within 2 or 3 thou which is surprising.   The oil looked nasty and I was thinking it was full of dirt because this tractor came without an air cleaner. It did have a new sparkplug and maybe a new head gasket.

Some images of the disassembly.  Although this engine looks good so far it could really go either way.  There is some corrosion or carbon on the top side of the cylinder bore.  No idea what that is about.


After taking off the head I cleaned up the cylinder as best I could.  It is pitted but maybe not enough to matter.

I put the head back on but have not torqued it.  Need to figure out which pushrod goes where.

Monday, November 16, 2015

Torque procedure is the same as for the 28ci.

Friday, November 20, 2015

Installed and torqued the head.  Set the valves after pulling the head back off to make a timing mark on the flywheel. Installed the starter from the LT1000(2).  Did a compression test and got 75psi.   I have gotten higher on other engines of this type but I think that on this one I have the intake valve set to where the compression release works.  


Next I am going to flush it with kerosene not sure how many times that will take.  I don't feel comfortable starting it on the dirty bench.  May have to bolt it to a tractor for testing;

Should make a vertical engine test stand.

Saturday, November 21

Drained the oil and refilled it with kerosene.  Added a bit of acetone to the kerosene.  Turned it by hand because I did not want to ignite the mix.

After a few turns it started making noise.  Not sure if it was every revolution or every other.  If it is every I may open it up.  See what it does with oil.

The plan is to change the oil on the DYT4000.  It's engine has maybe an hour on it since it was reassembled.  But the oil is dark because I pulled the new oil filter and replaced it with the one off the old engine because I feared that vaseline in the pump whent into the filter and stayed.  Anyway this oil should be good enough to fire this engine.

Sunday, November 22

Drained the kerosene.  Not sure how much good it did.  Refilled the crankcase with used oil fresh from the DYT4000 .

Hooked a battery to the starter and shot a bit of carb cleaner into the intake port, neither the carb or muffler are installed.  It fired up.   This is always a tricky thing to do on an uninstalled motor.  It tried to spin but the most exciting bit was the flame shooting out the intake.  The compression release at work?  Really need to make that motor test stand with a few 10s of pounds of concrete to anchor it.

Anyway I think the interior of this motor is far to dirty to put back into service.  I will at least open the sump and then expect and clean it. Next task.

This could end up being a useable engine with lots of life left in it.  Given that it was out in the weather with no air cleaner I expect the carb is toast.

Drained the oil and pulled the sump cover.  The last person in here did not use a gasket.  Just an uneffective bead of sealer.  This may explain why the exterior of the engine is so filty.


Looks like crud is confined to the bottom of the sump.  So unless something else rears its ugly head I will do a cleanup and put it back together.

Left it to drain overnight.  I should go back and put a garbage bag over it.


Friday, November 27, 2015

Designed and cut the pan gasket.  Forgot how to use the software tools so it took a while.  Started with a picture of the pan.   For the roll paper 1 cut is enough.  For the gasket material 4 cuts.  Wonder if this gasket will fit the 31's?

It is too cold to install the gasket in the unheated shop.  Bring the engine in?  Not my idea of fun.  But only the forecast says cold for the next week.  Not much choice if I want to do this.


Saturday, November 28, 2015

Reassembled the engine early this AM.  Came up one bolt short for the pan, 9 instead of 10.  Then one of the bolts stripped because there was not enough thread engaged.  That sounds related.  Anyway I can shorten a head bolt slightly and use it in the stripped hole.


Next up will be the carb.