
 Time to checkout the carb and fuel tank.
Prior to taking the carb off the engine I took pictures of the linkages.


First step is to clean the entire carb in the ultrasonic using cheer and borax. I not using ammonia this time. After 4 minutes it looked like this and I removed the screws from the pump cover and pried it loose with a razor blade taking care not to ruin the diaphragm if it was still serviceable.
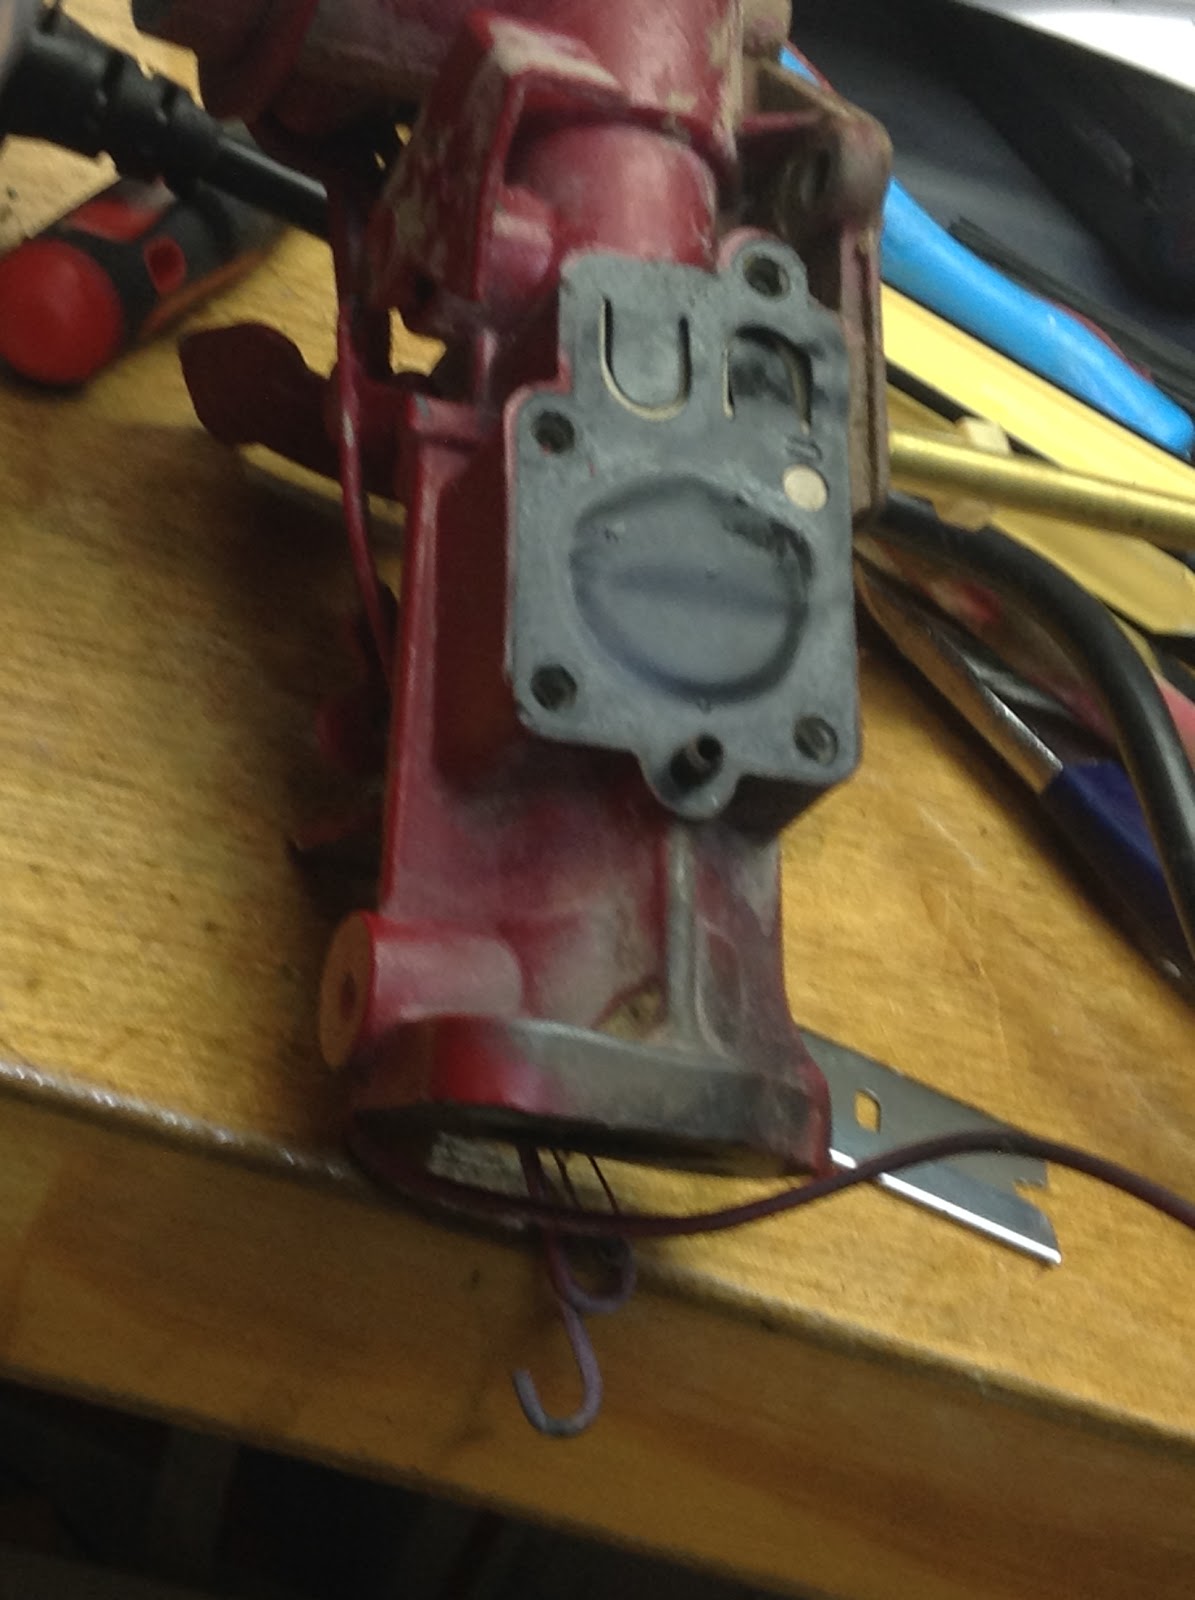

 It looked like it might be so I carefully removed it working the edges loose with a razor blade.

The good news is the pump diaphragm regained some of its flexibility after cleaning. I noticed that the pump spring was not as tall as the new one I had installed in the first pulsa-jet. So I stretched it a bit. The pump seems to work.
Now I need to clean the tank and cut a carb to tank gasket.
What I learned: I had been thinking it was the ammonia that removed the paint. This carb lost some paint but not as much. Mostly the pain came off the lighter bits so I am thinking it is also temperature related. Most of the time I would rather have a clean carb then a painted one that does not work.

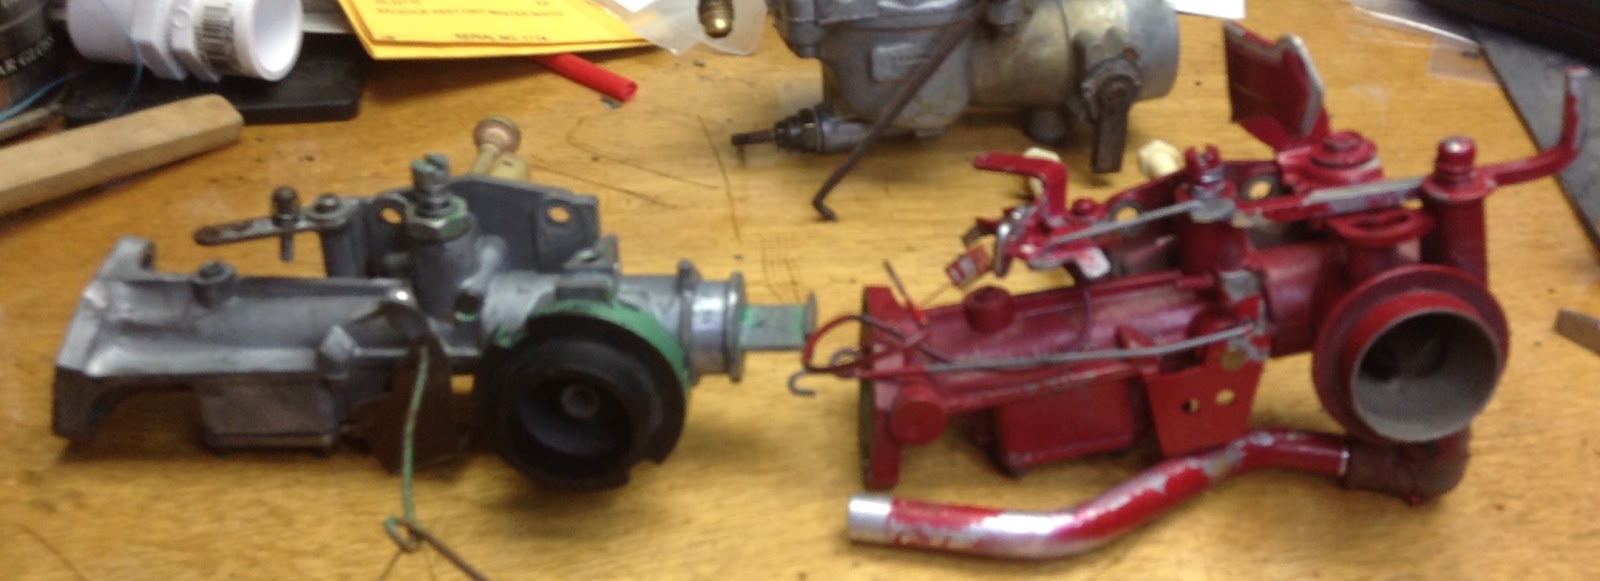
I had second thoughts regarding the used pump spring. I removed the new spring and diaphragm from the other carb. The new spring is on the left. The already somewhat stretched spring is in the center. I placed the new spring and diaphragm in the red carb. After additional stretching the center spring was placed into the green carb.
 The image on the left was found on the net. It is an aftermarket gasket. There are two bolt holes on top because briggs moved the screw location. The older green carb uses the top location the red the bottom. Closer hole better seal.
The image was imported to make the cut for pixel tracing. The trial cut was made with purple paper was too small.

 It was easy to stretch the size a bit in MTC and cut a good fitting gasket. OK maybe it is a bit lame to make a gasket that costs $1.50 but I don't have one on hand and with the zombie engines I am needing gaskets on a regular basis and then there is shipping. Also keep in mind that for me this is entertainment.
 The filler neck on the gas tank was crushed down on one side. A little work with a small pliers and the cap screwed on. To clean the tank I added gravel and about a cup of acetone. Lots of shaking and the inside is nice and shiny.
What I learned: I had been thinking it was the ammonia that removed the paint. This carb lost some paint but not as much. Mostly the pain came off the lighter bits so I am thinking it is also temperature related. Most of the time I would rather have a clean carb then a painted one that does not work.

I had second thoughts regarding the used pump spring. I removed the new spring and diaphragm from the other carb. The new spring is on the left. The already somewhat stretched spring is in the center. I placed the new spring and diaphragm in the red carb. After additional stretching the center spring was placed into the green carb.
The image was imported to make the cut for pixel tracing. The trial cut was made with purple paper was too small.

 It was easy to stretch the size a bit in MTC and cut a good fitting gasket. OK maybe it is a bit lame to make a gasket that costs $1.50 but I don't have one on hand and with the zombie engines I am needing gaskets on a regular basis and then there is shipping. Also keep in mind that for me this is entertainment.
 The filler neck on the gas tank was crushed down on one side. A little work with a small pliers and the cap screwed on. To clean the tank I added gravel and about a cup of acetone. Lots of shaking and the inside is nice and shiny.
All cleaned up and ready to go back on the engine. That is an intake gasket on the carb intake. Do you think the green cap gives it a bit of a Christmas feeling!
No comments:
Post a Comment